

(Please excuse my lame camera phone pictures)
I love making these fun name pillows for gifts!
It's never an expected gift but everyone loves them! We had a birthday party, a new baby, and Christmas coming up so I thought I'd whip out a few of these babies.

This was actually one of my first pins on pinterest. I thought they looked so fun! The link took me to Girlie Bird Boutique on Etsy. Adorable stuff. It's a bummer that now she's "on vacation".
Anywho, I decided to try making it on my own.
First, you cut out your letters and fusible interfacing.
I used my silhoutte (most awesome crafting machine ever),
but you could totally cut them by hand, no biggie.
Next, decide where you want them on the front of your pillow and iron them on.
Then, sew all the way around each letter with your sewing machine.
GO SLOW!
After that, sew your baby rick rack around each letter.
GO EVEN SLOWER!
When you're done with the rick rack, you are going to sew on the fringe.
This step seems really intimidating but it's not that bad, I promise.
Just lay the pillow front (letter) side up and sew the fringe around the edge with the pom-poms facing the letters and the fringe edge matched up with the edge of the pillow. Sew all the way around.
When you're done with that, lay the pillow backing on top (right sides facing) and pin all the way around and sew. Make sure to leave an opening to turn and stuff your pillow.
When you turn your pillow right side out, all the pom-poms should be around the edges. Stuff it good and slip-stich the opening closed.
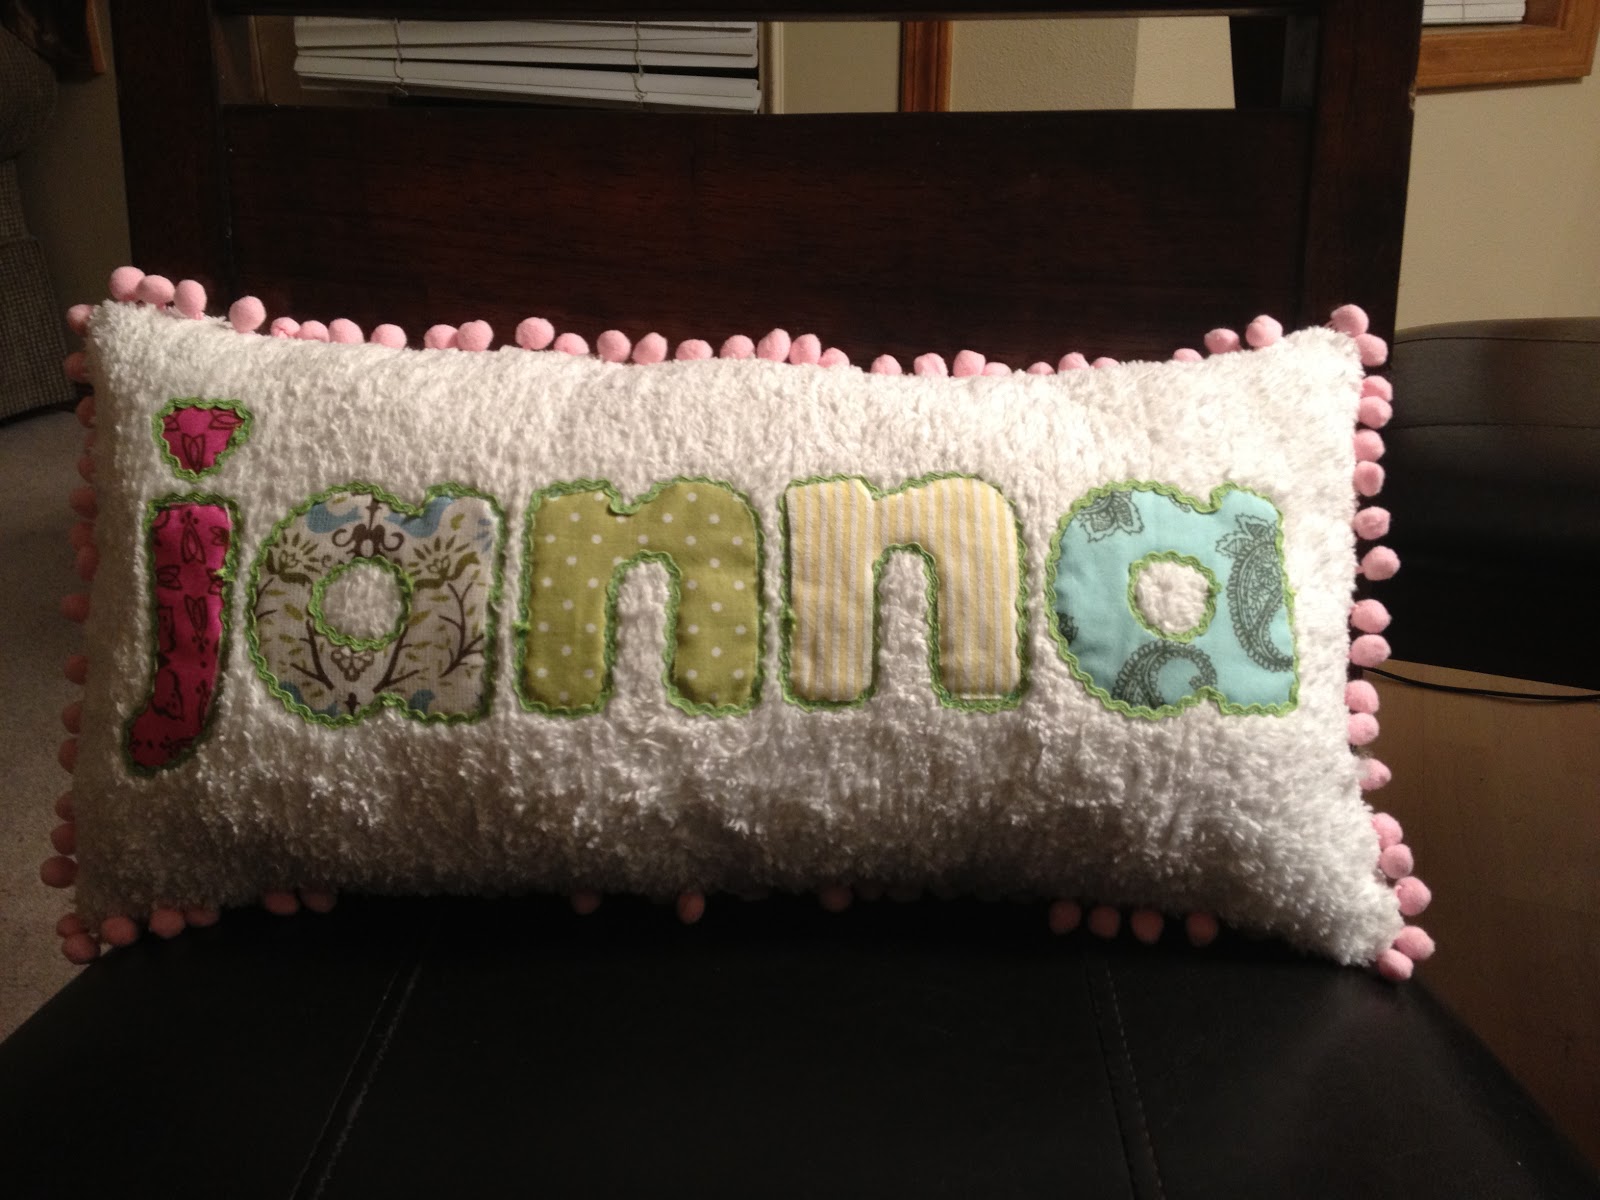
Voila! Now you have a great name pillow! I love projects that only take a couple hours and you're done. Instant gratification, baby!

This one is for my brand new niece. Her name is Brynlee and it thought the pillow would turn out to long and weird-looking with her whole name on it so I just did a "B". Still cute!
I promise to post an actual tutorial with more details and pictures on this at some point. I just didn't take all the pictures I needed this time...dang.


No comments:
Post a Comment